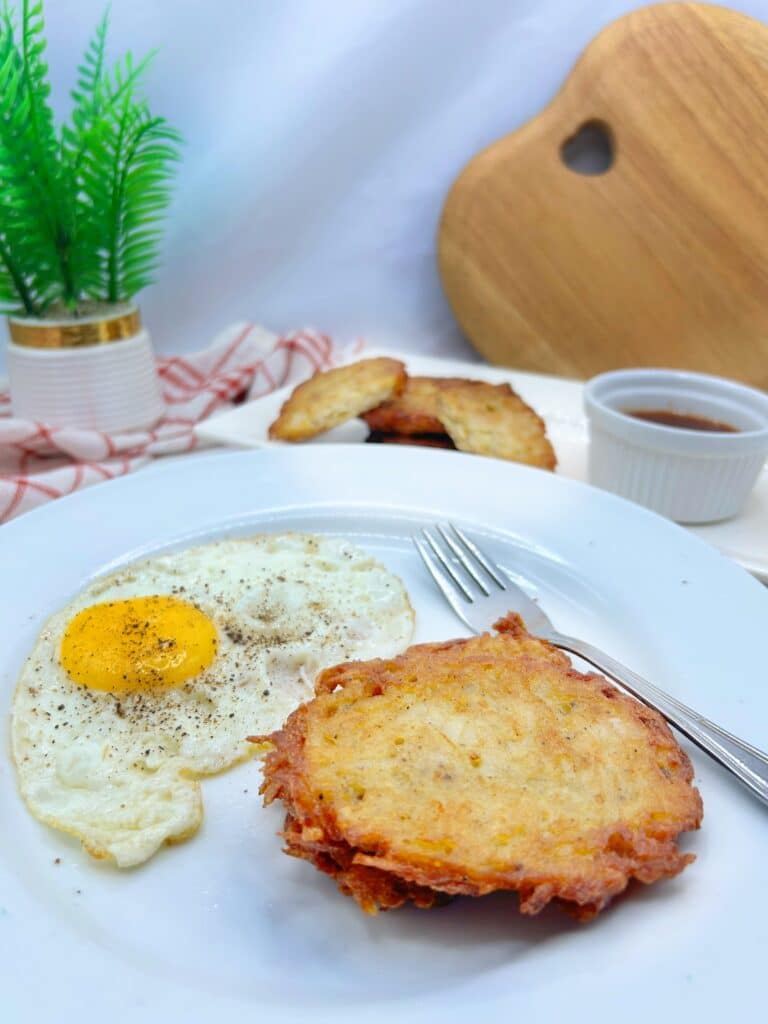
Golden, crispy, and utterly satisfying – homemade hash browns are a breakfast classic that never disappoints. Perfectly crunchy on the outside, with a soft and tender inside, these hash browns are delicious on their own or as a tasty side. With just a few pantry staples and simple steps, you can make the best hash browns at home and elevate your breakfast game effortlessly.
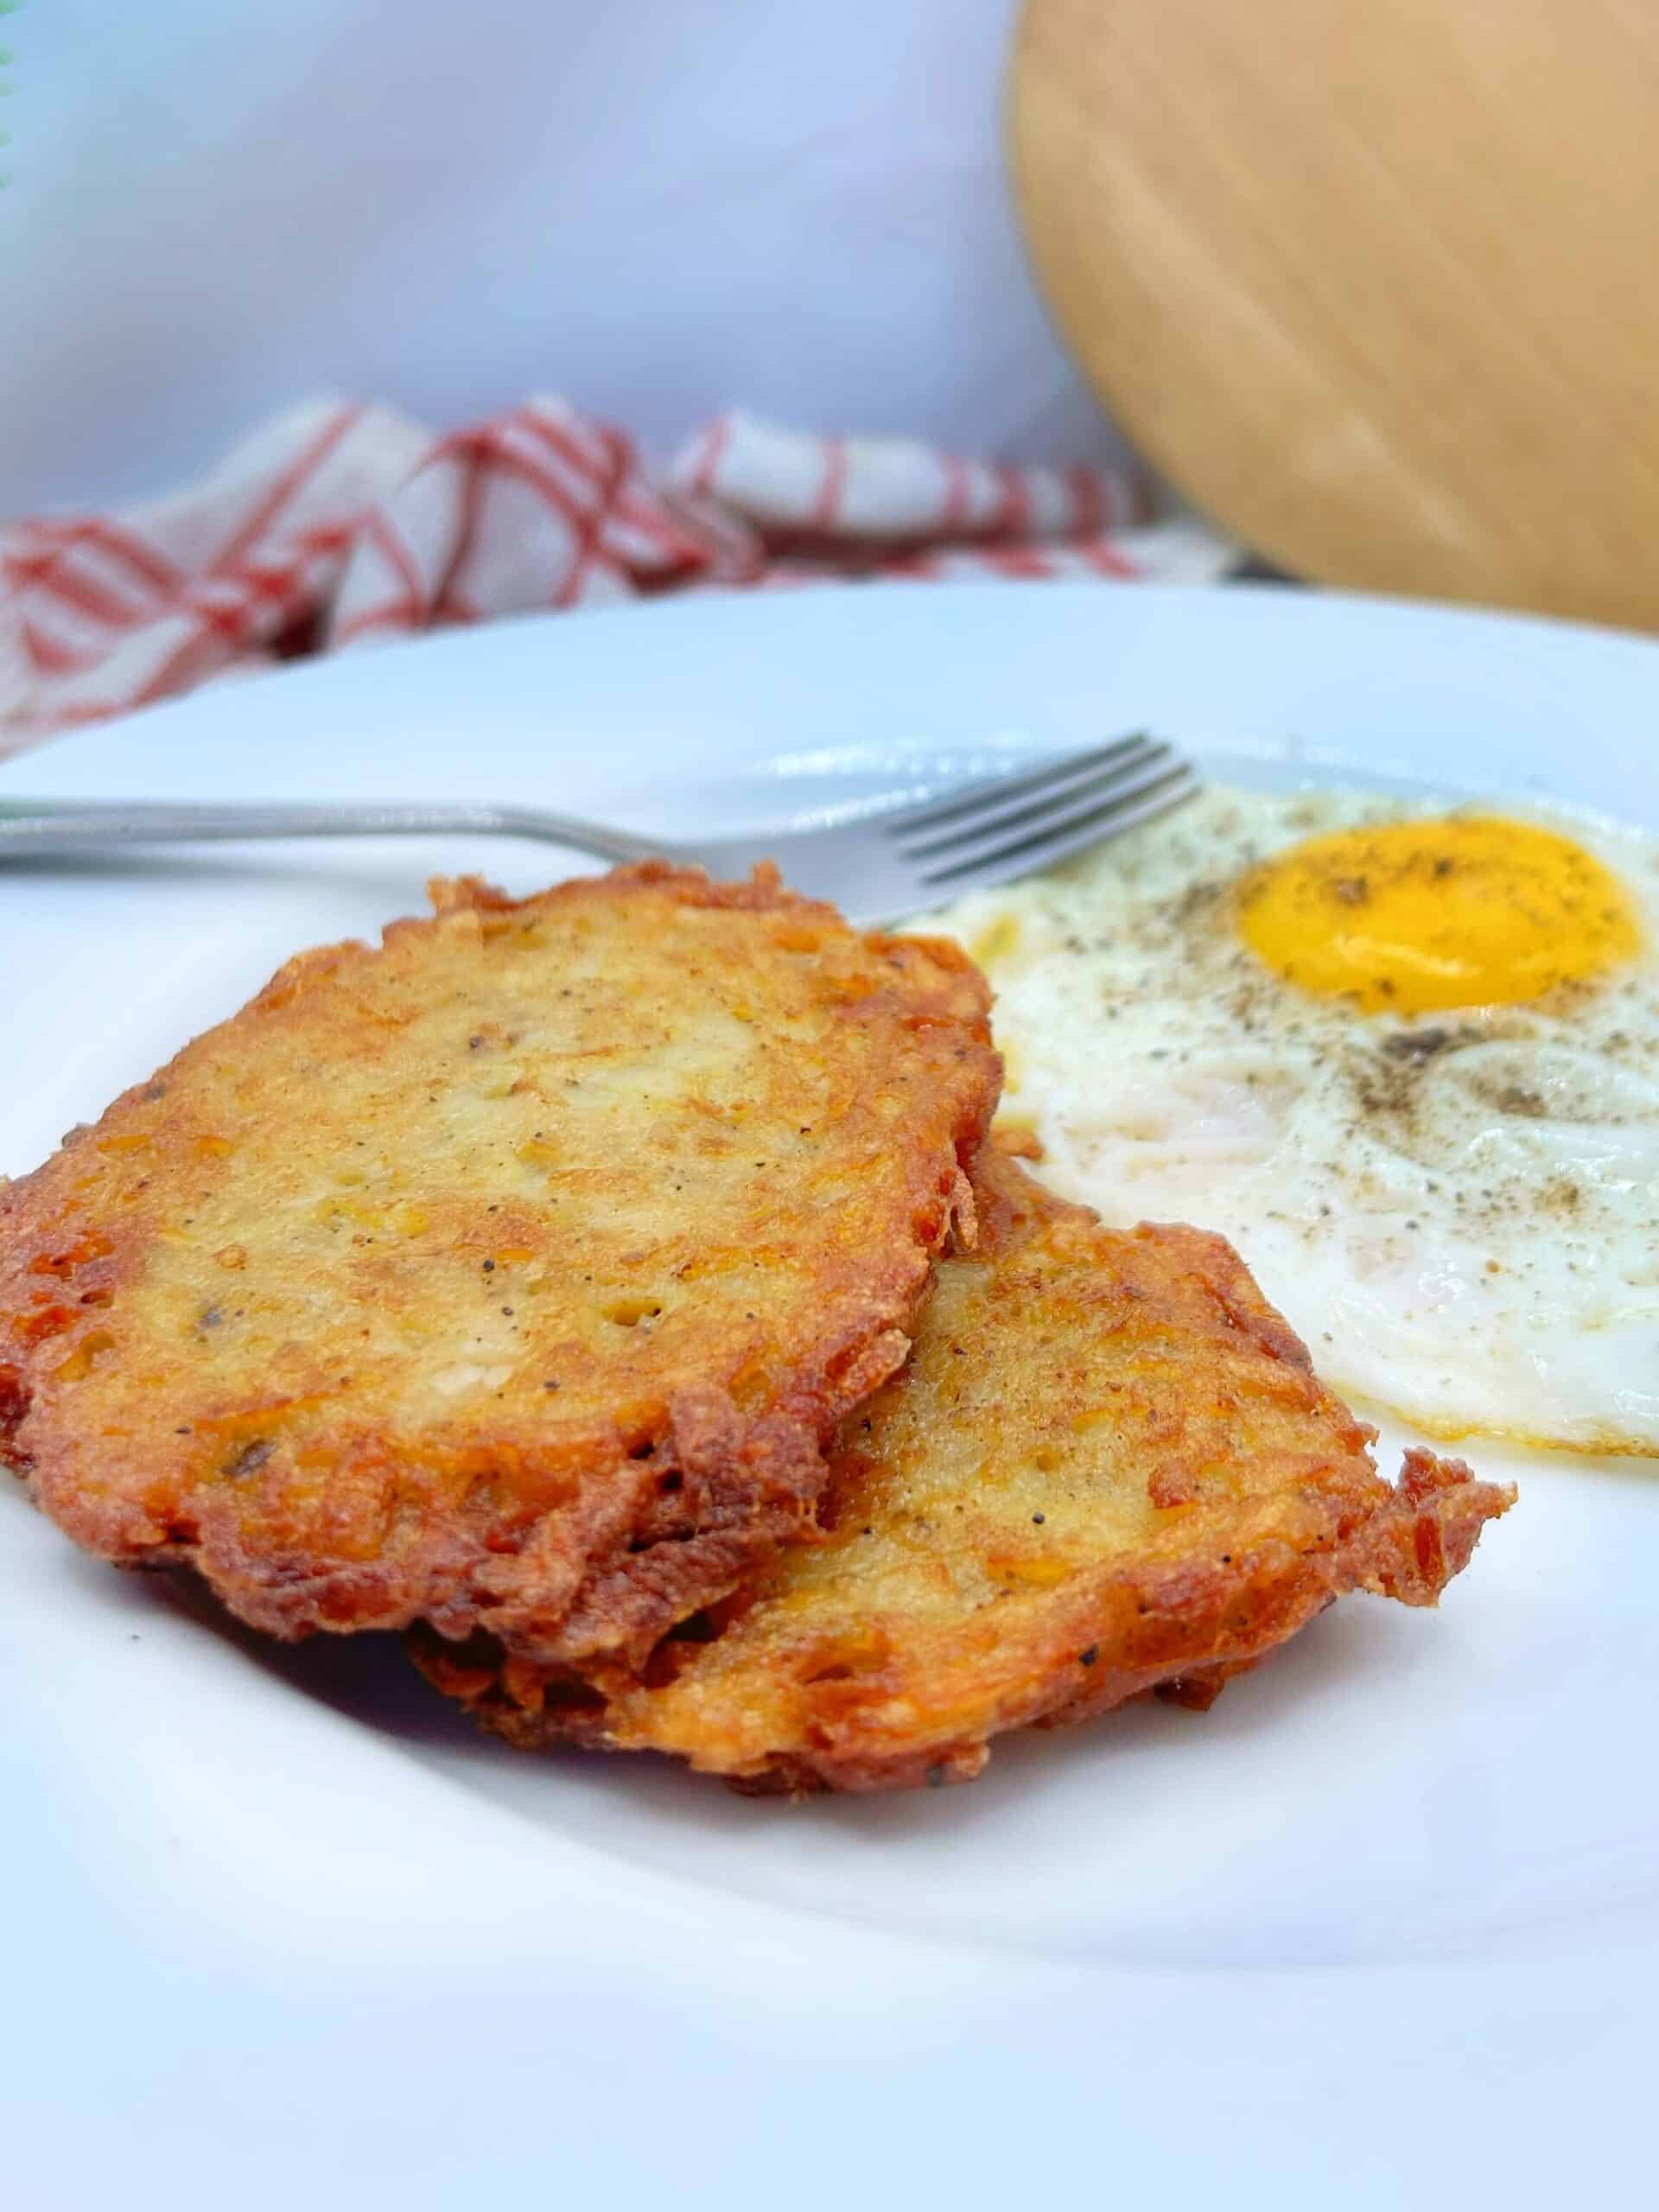
Hash browns have been a breakfast favorite for over a century, traditionally made by grating potatoes, pressing them into patties, and frying until crispy. Their simplicity and versatility have made them a staple, especially in American diners, where they’re often served alongside eggs, pancakes, or bacon. This recipe keeps it classic with russet potatoes, which are ideal for achieving that perfect crispiness due to their starch content.
Checkout my other breakfast recipes: Overnight oats recipe
Also, try my other recipe: Cottage cheese pancakes
Jump to:
Ingredients
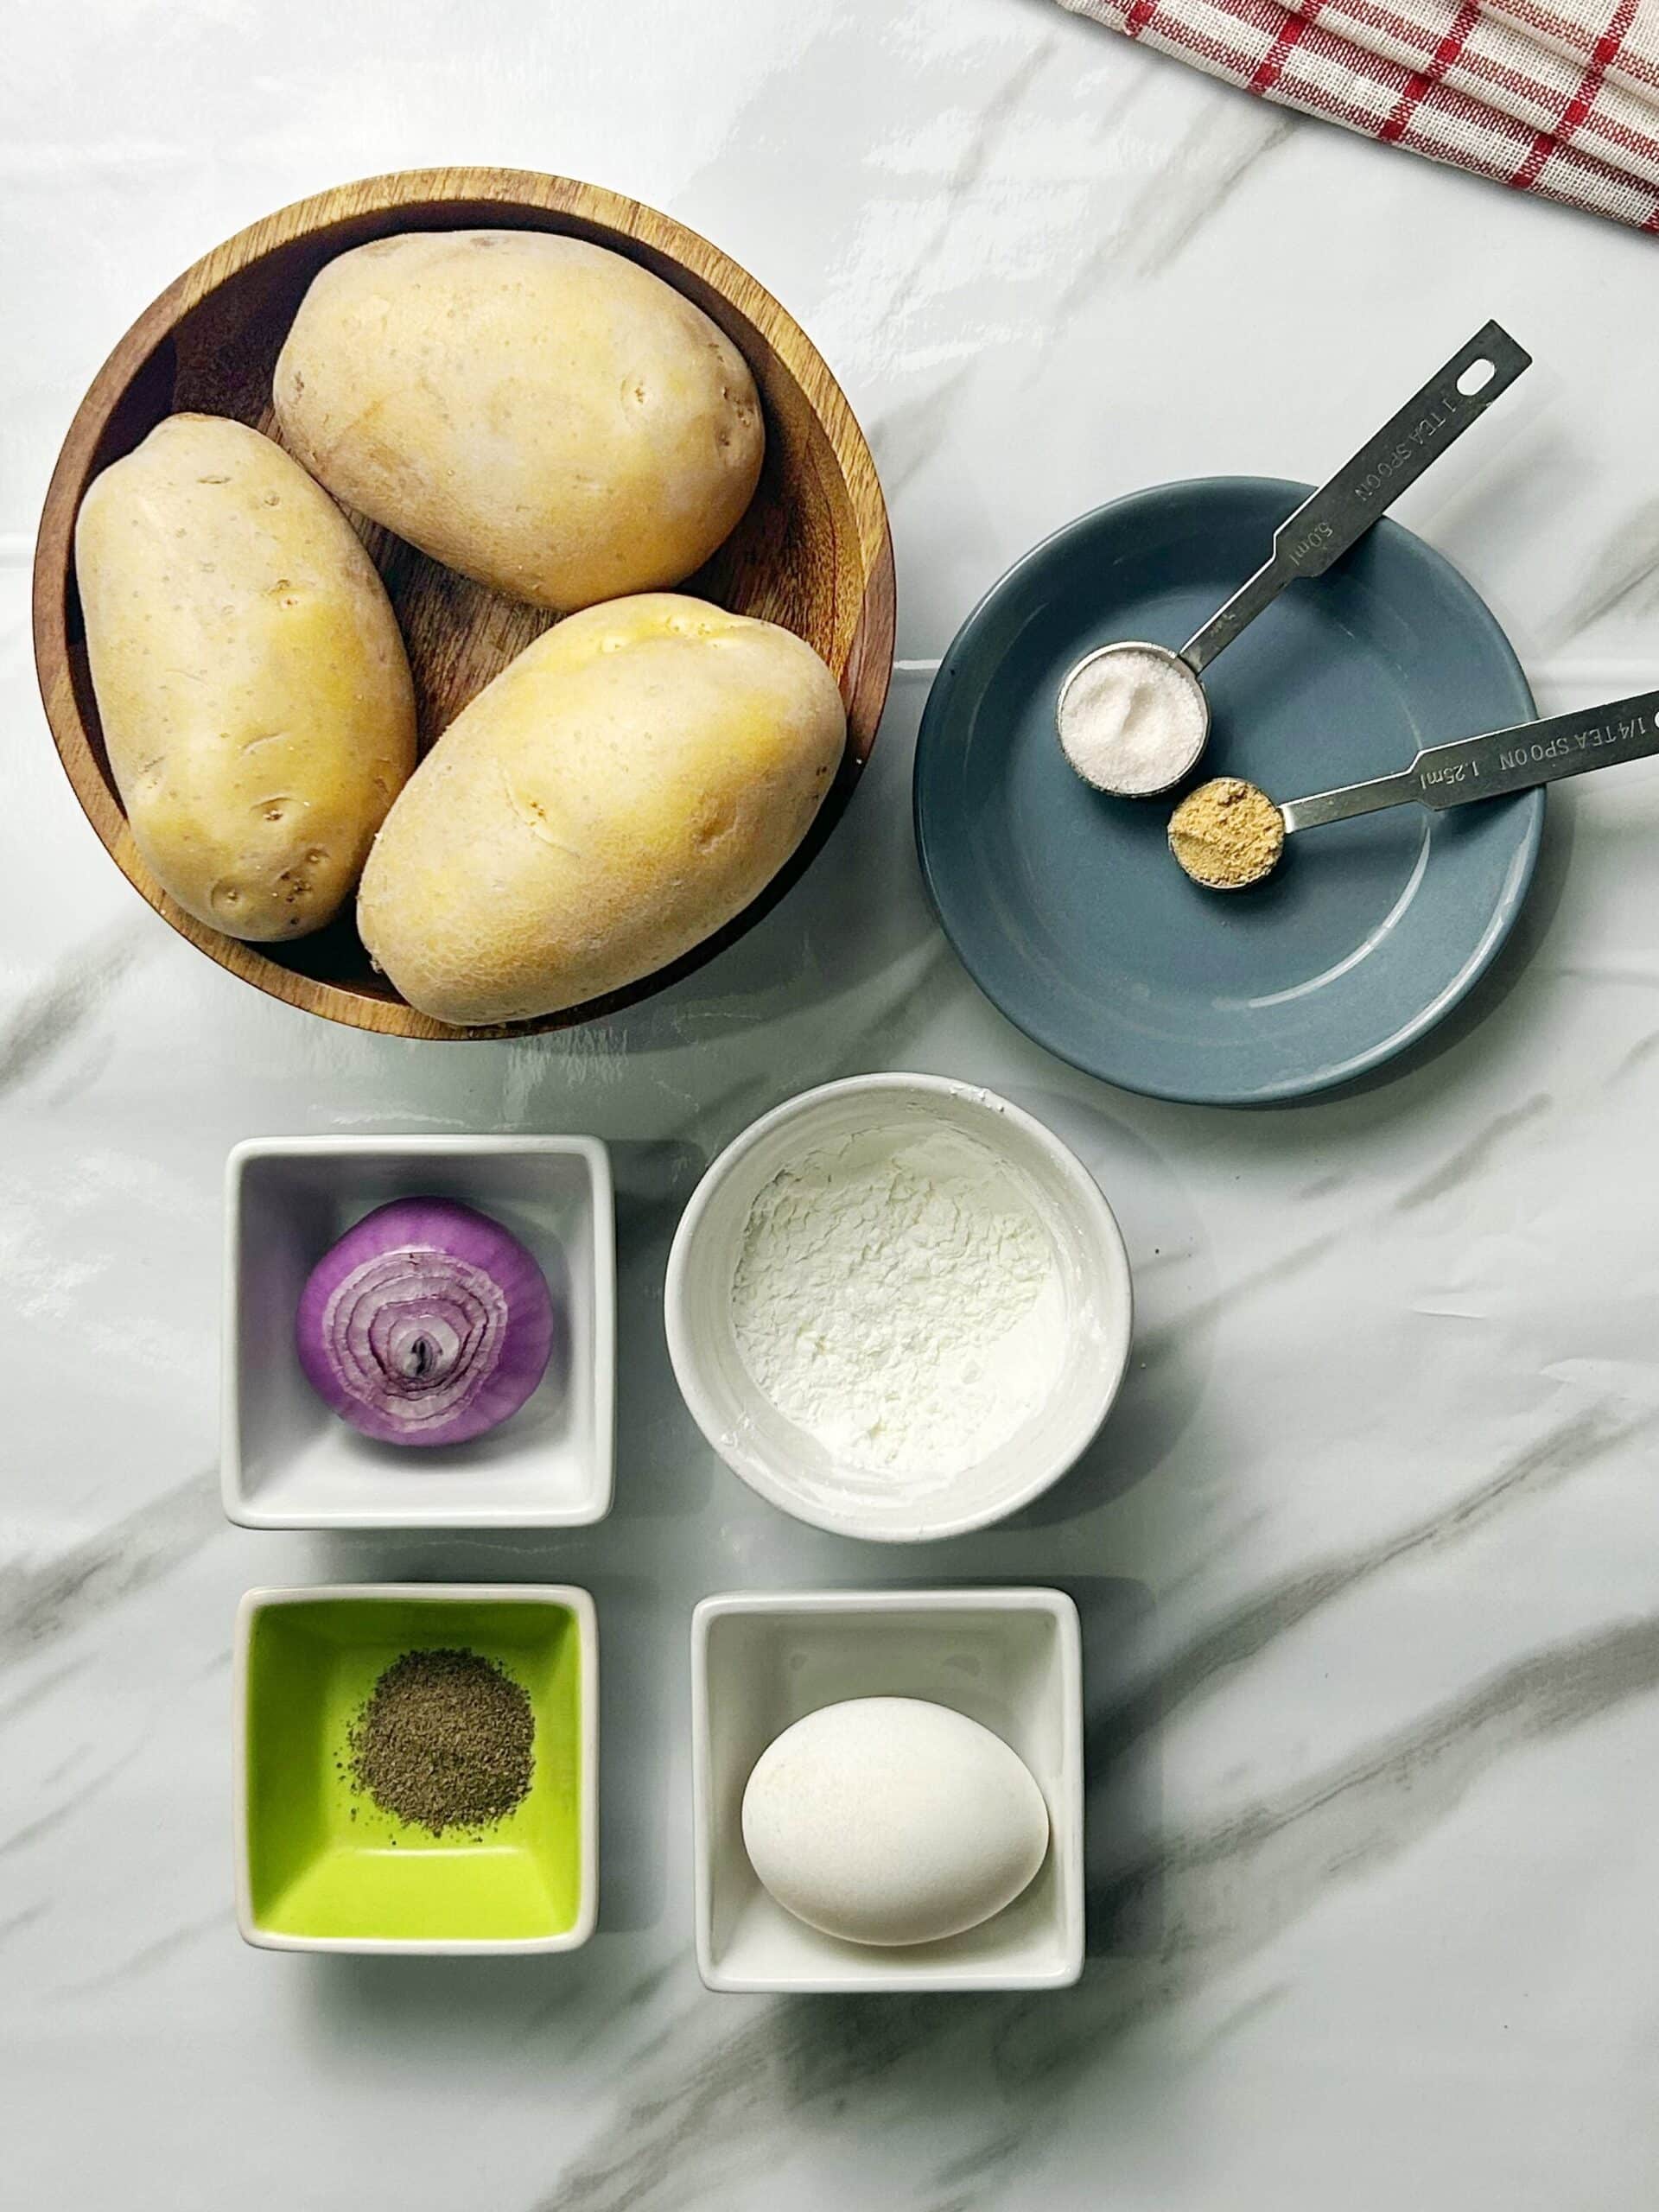
- Russet Potatoes – The high starch content in russet potatoes makes them ideal for hash browns, giving them that fluffy interior and crispy exterior.
- Onion (optional) – Adds a subtle, savory flavor and complements the potatoes well. Grate finely to incorporate easily.
- Flour – A small amount helps bind the mixture, keeping the hash browns together while frying.
- Salt and Pepper – Simple seasonings that enhance the flavor of the potatoes without overpowering them.
- Vegetable Oil or Butter – Oil helps create a beautiful, golden crust, while butter adds richness. Feel free to use a mix of both for added flavor.
See recipe card for quantities.
Instructions
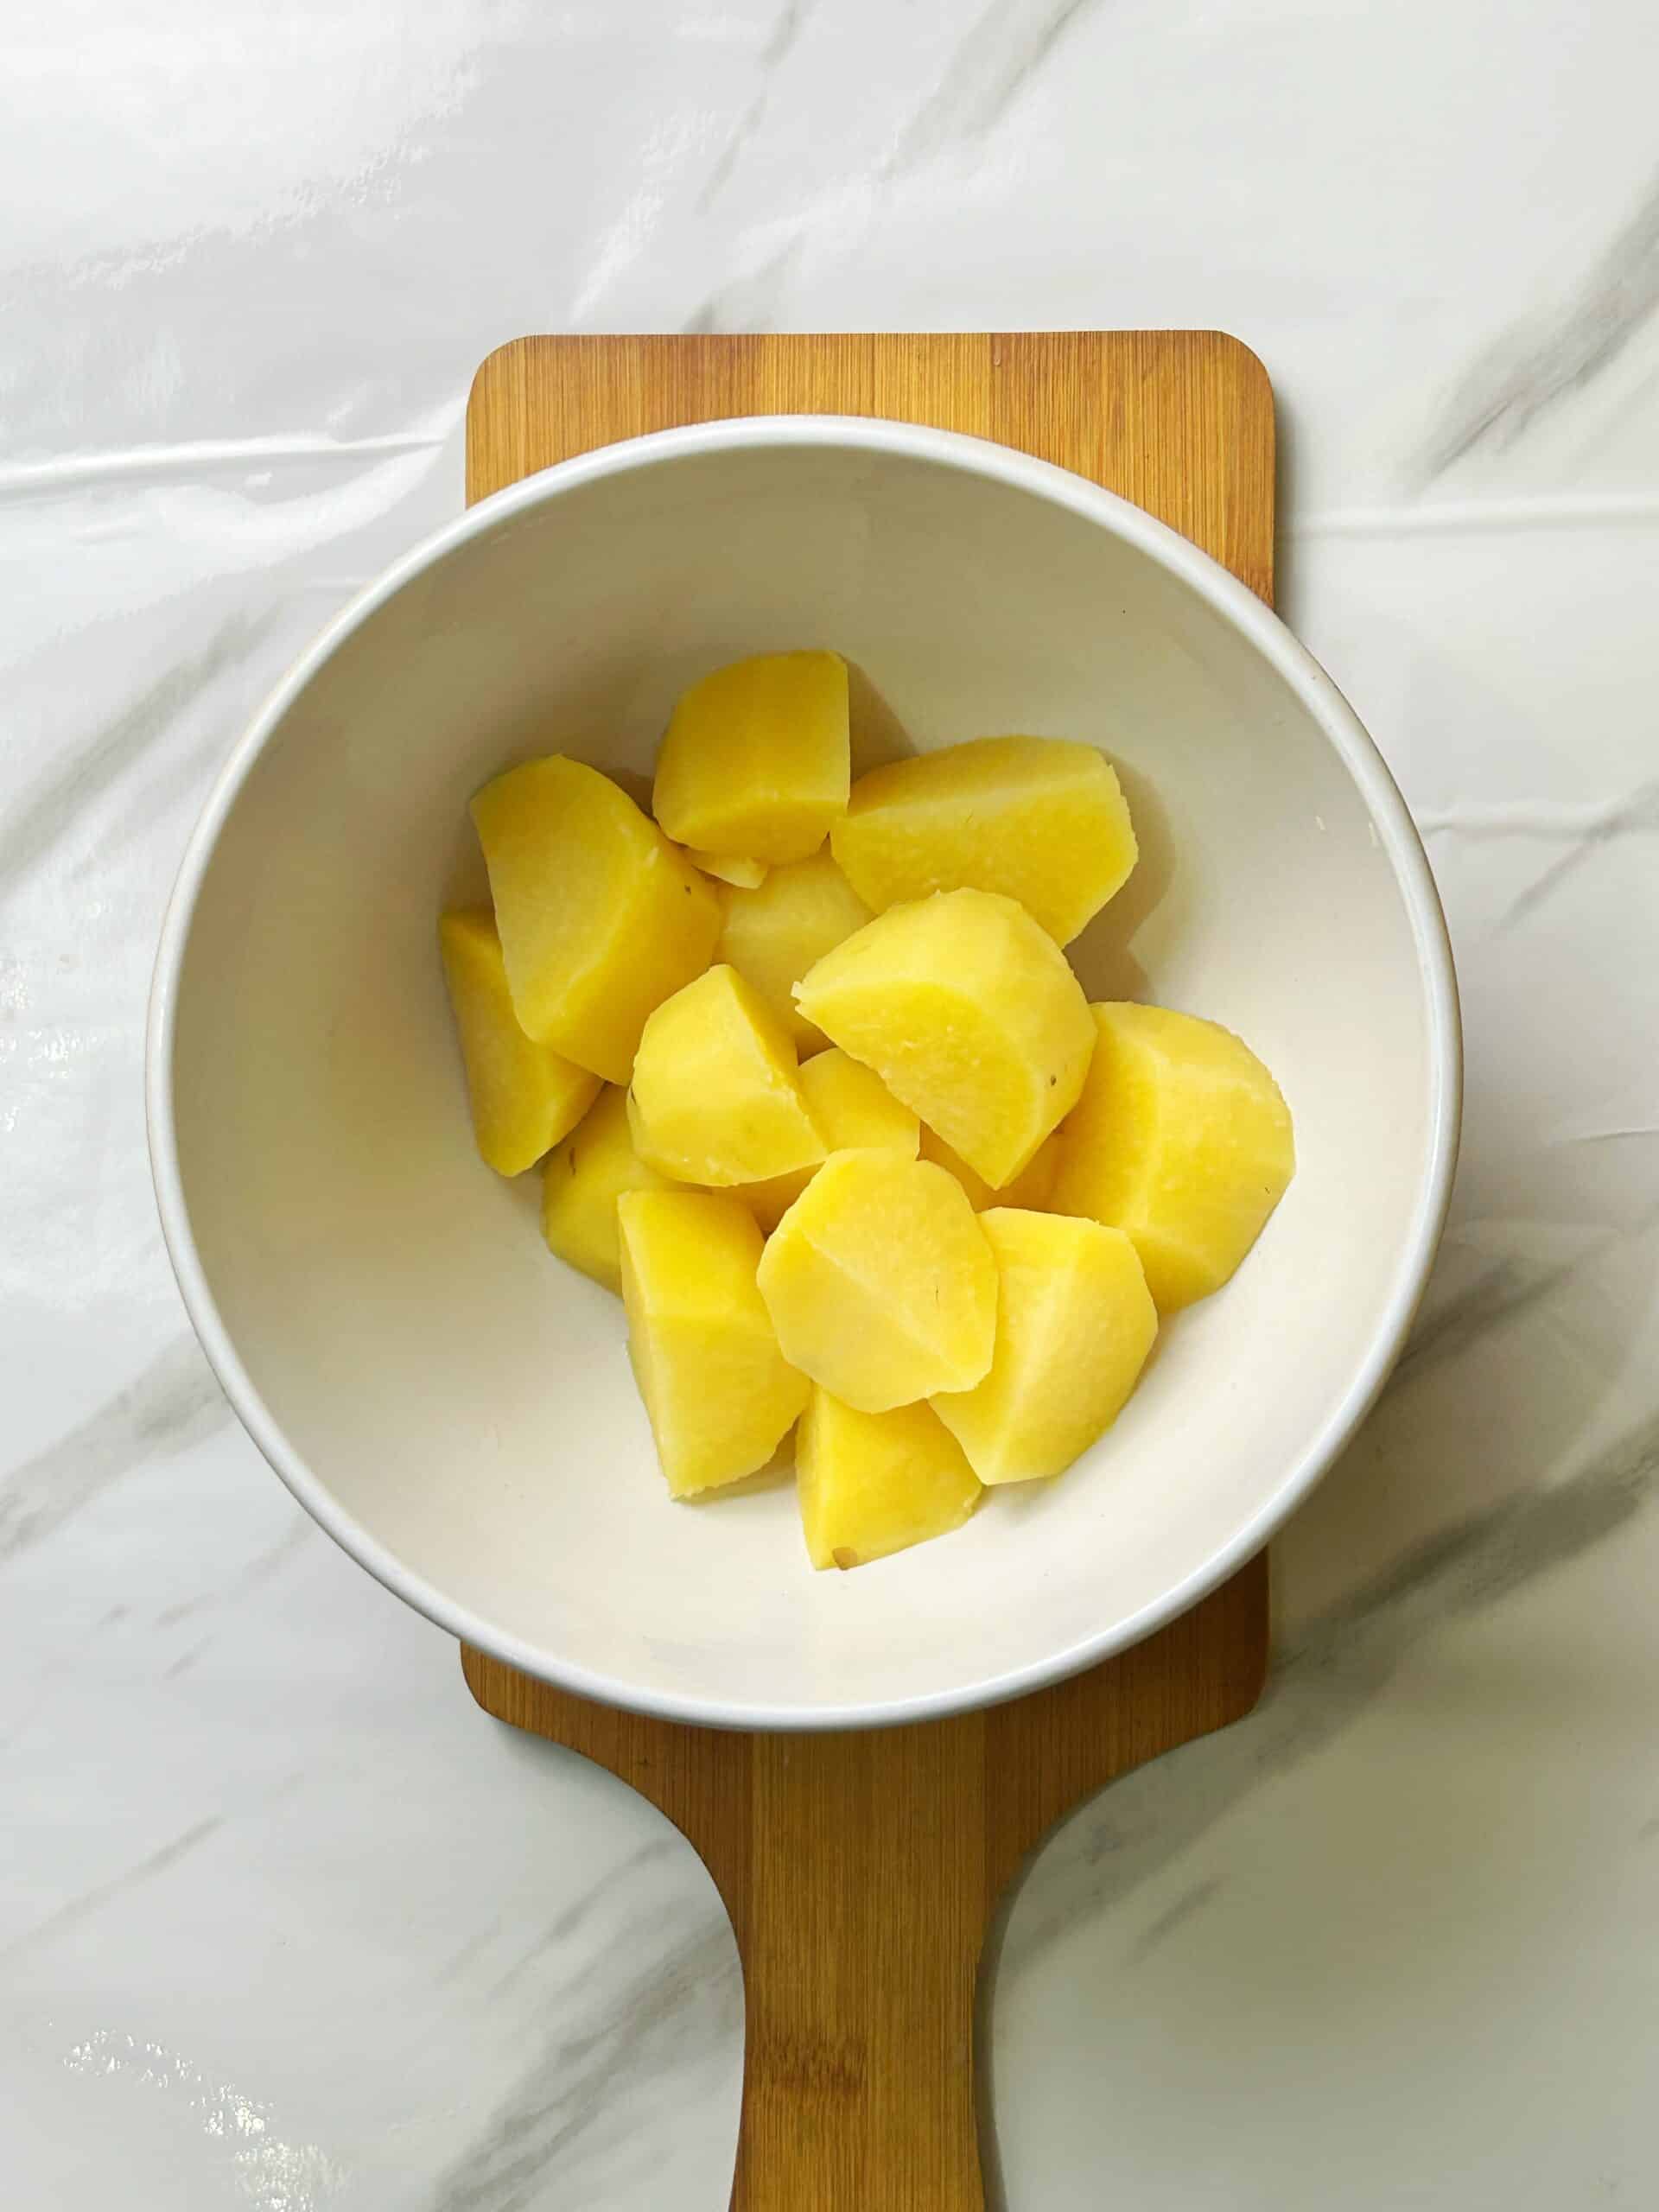
- Step 1: Peel potatoes, cut and boil them for 5 minutes.
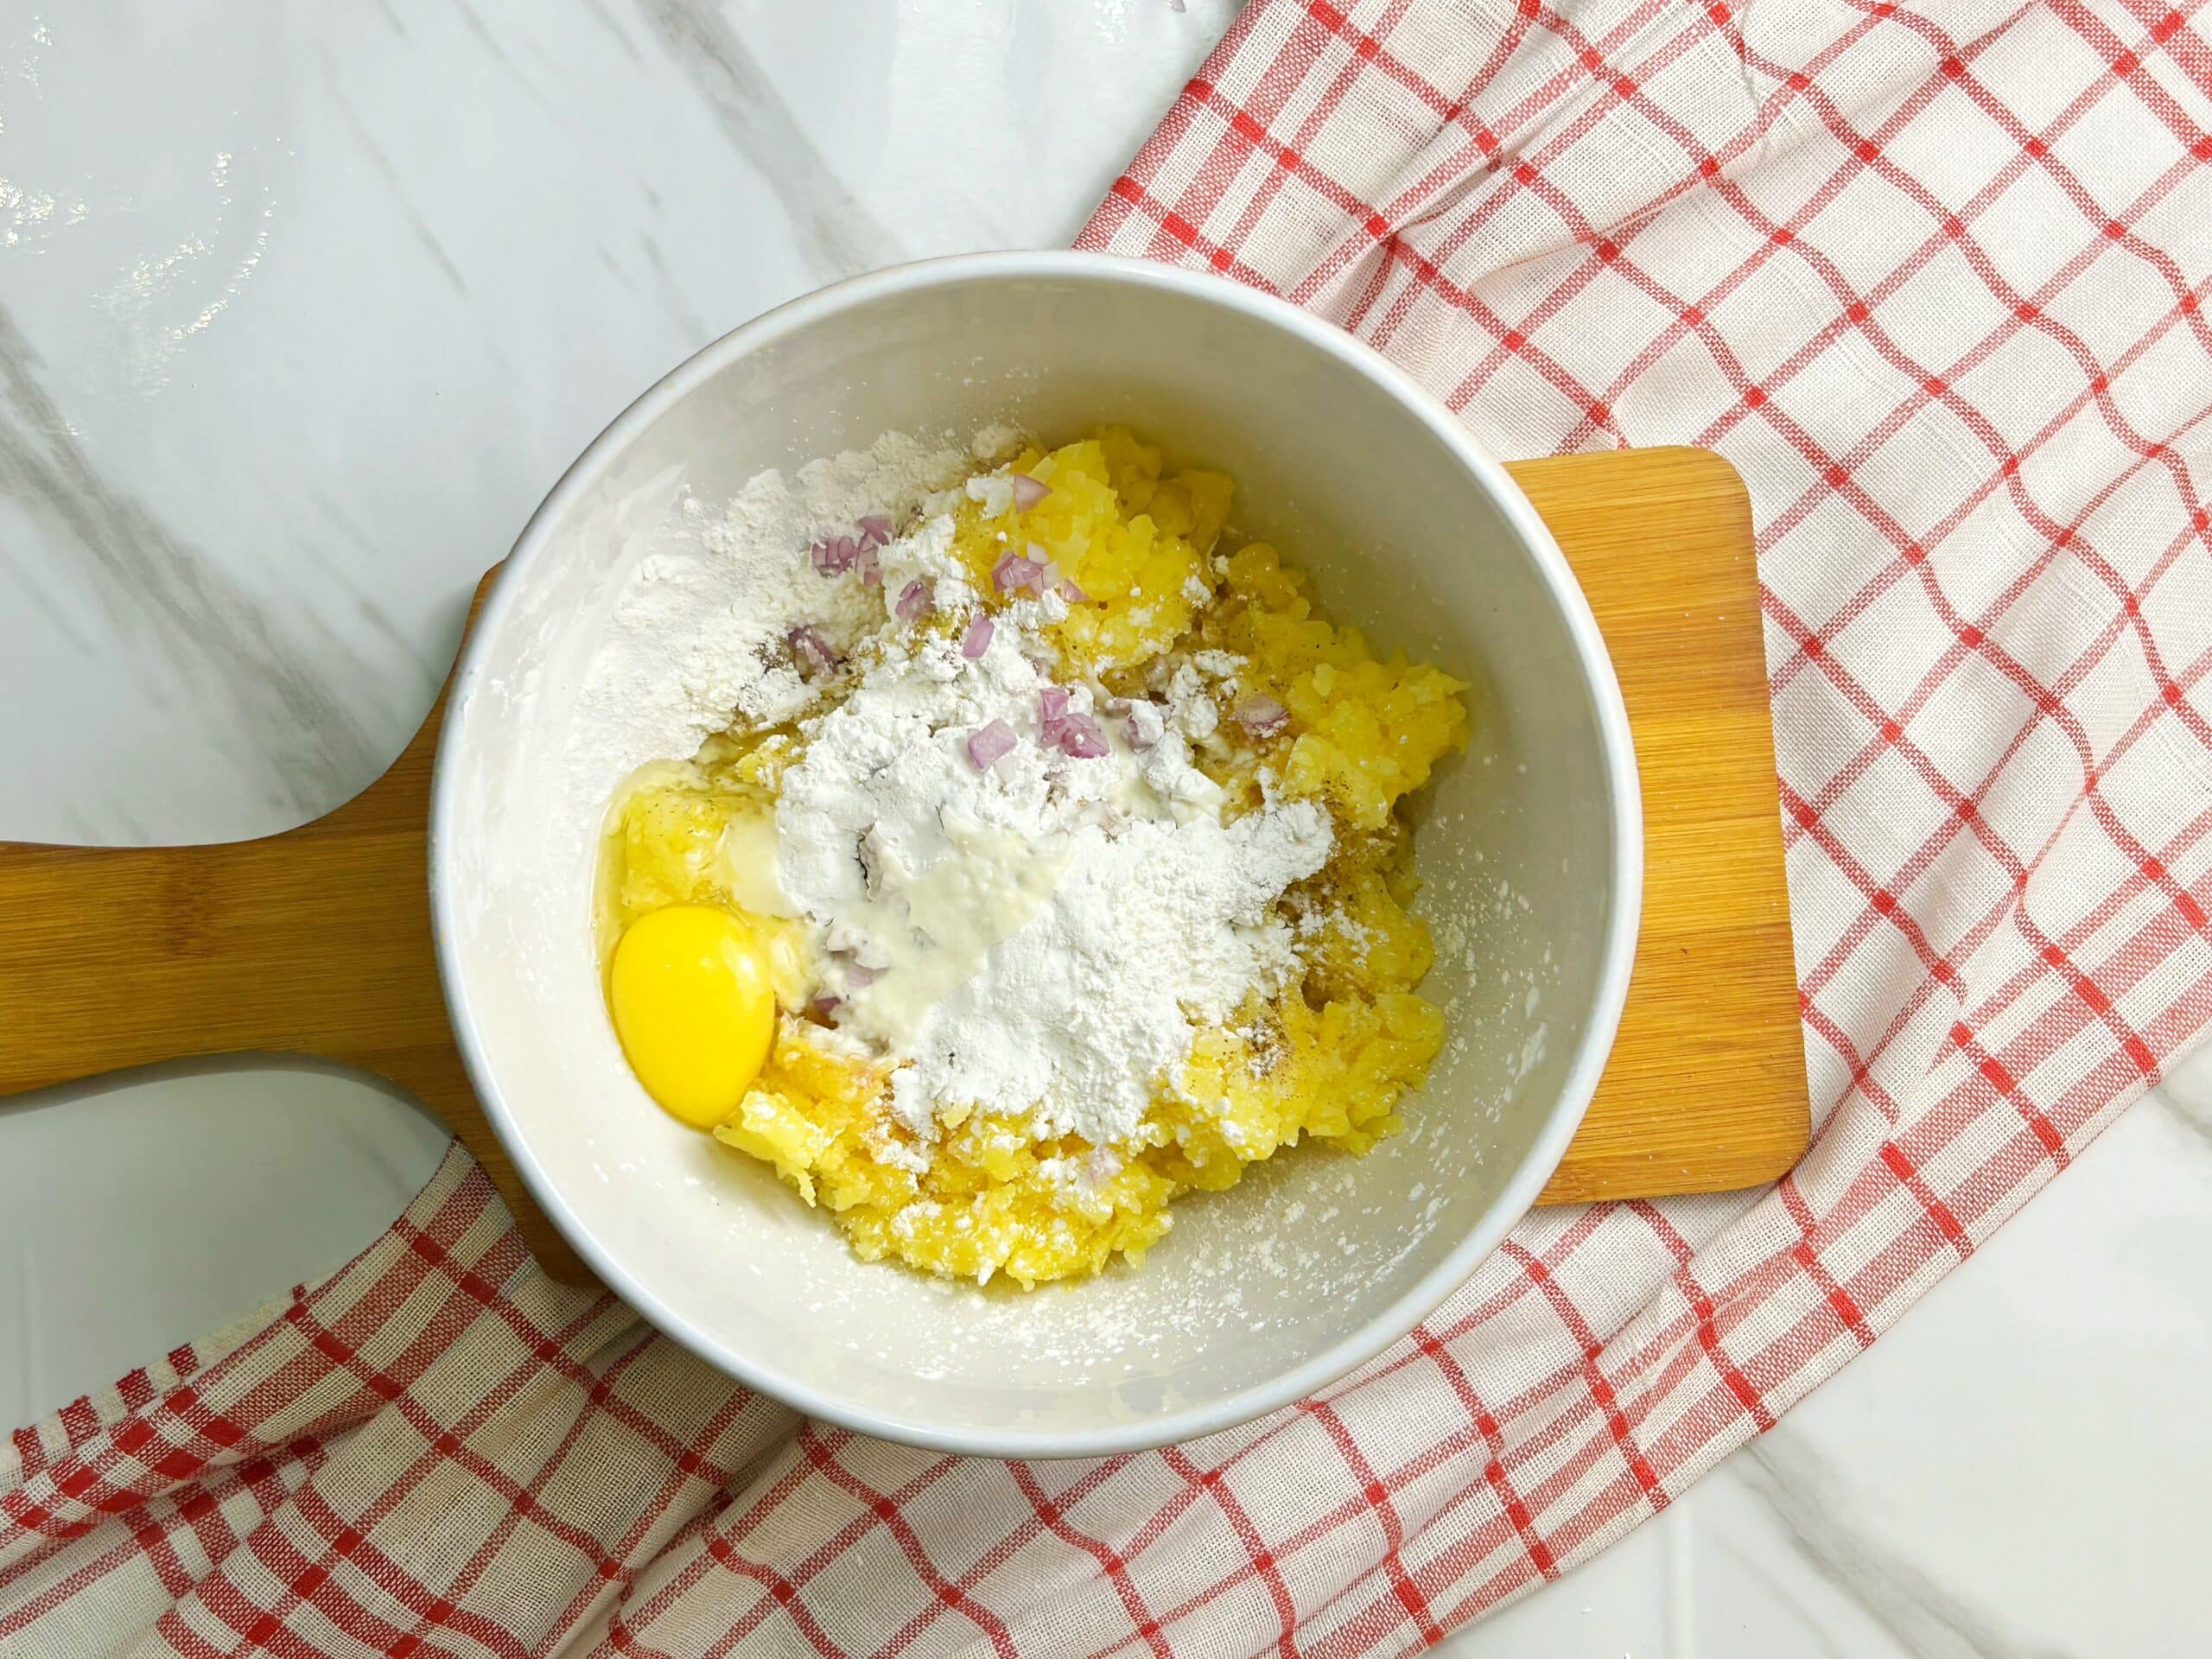
- Add in onion , flour, season with garlic powder, salt, pepper and egg. Mix until well combined.
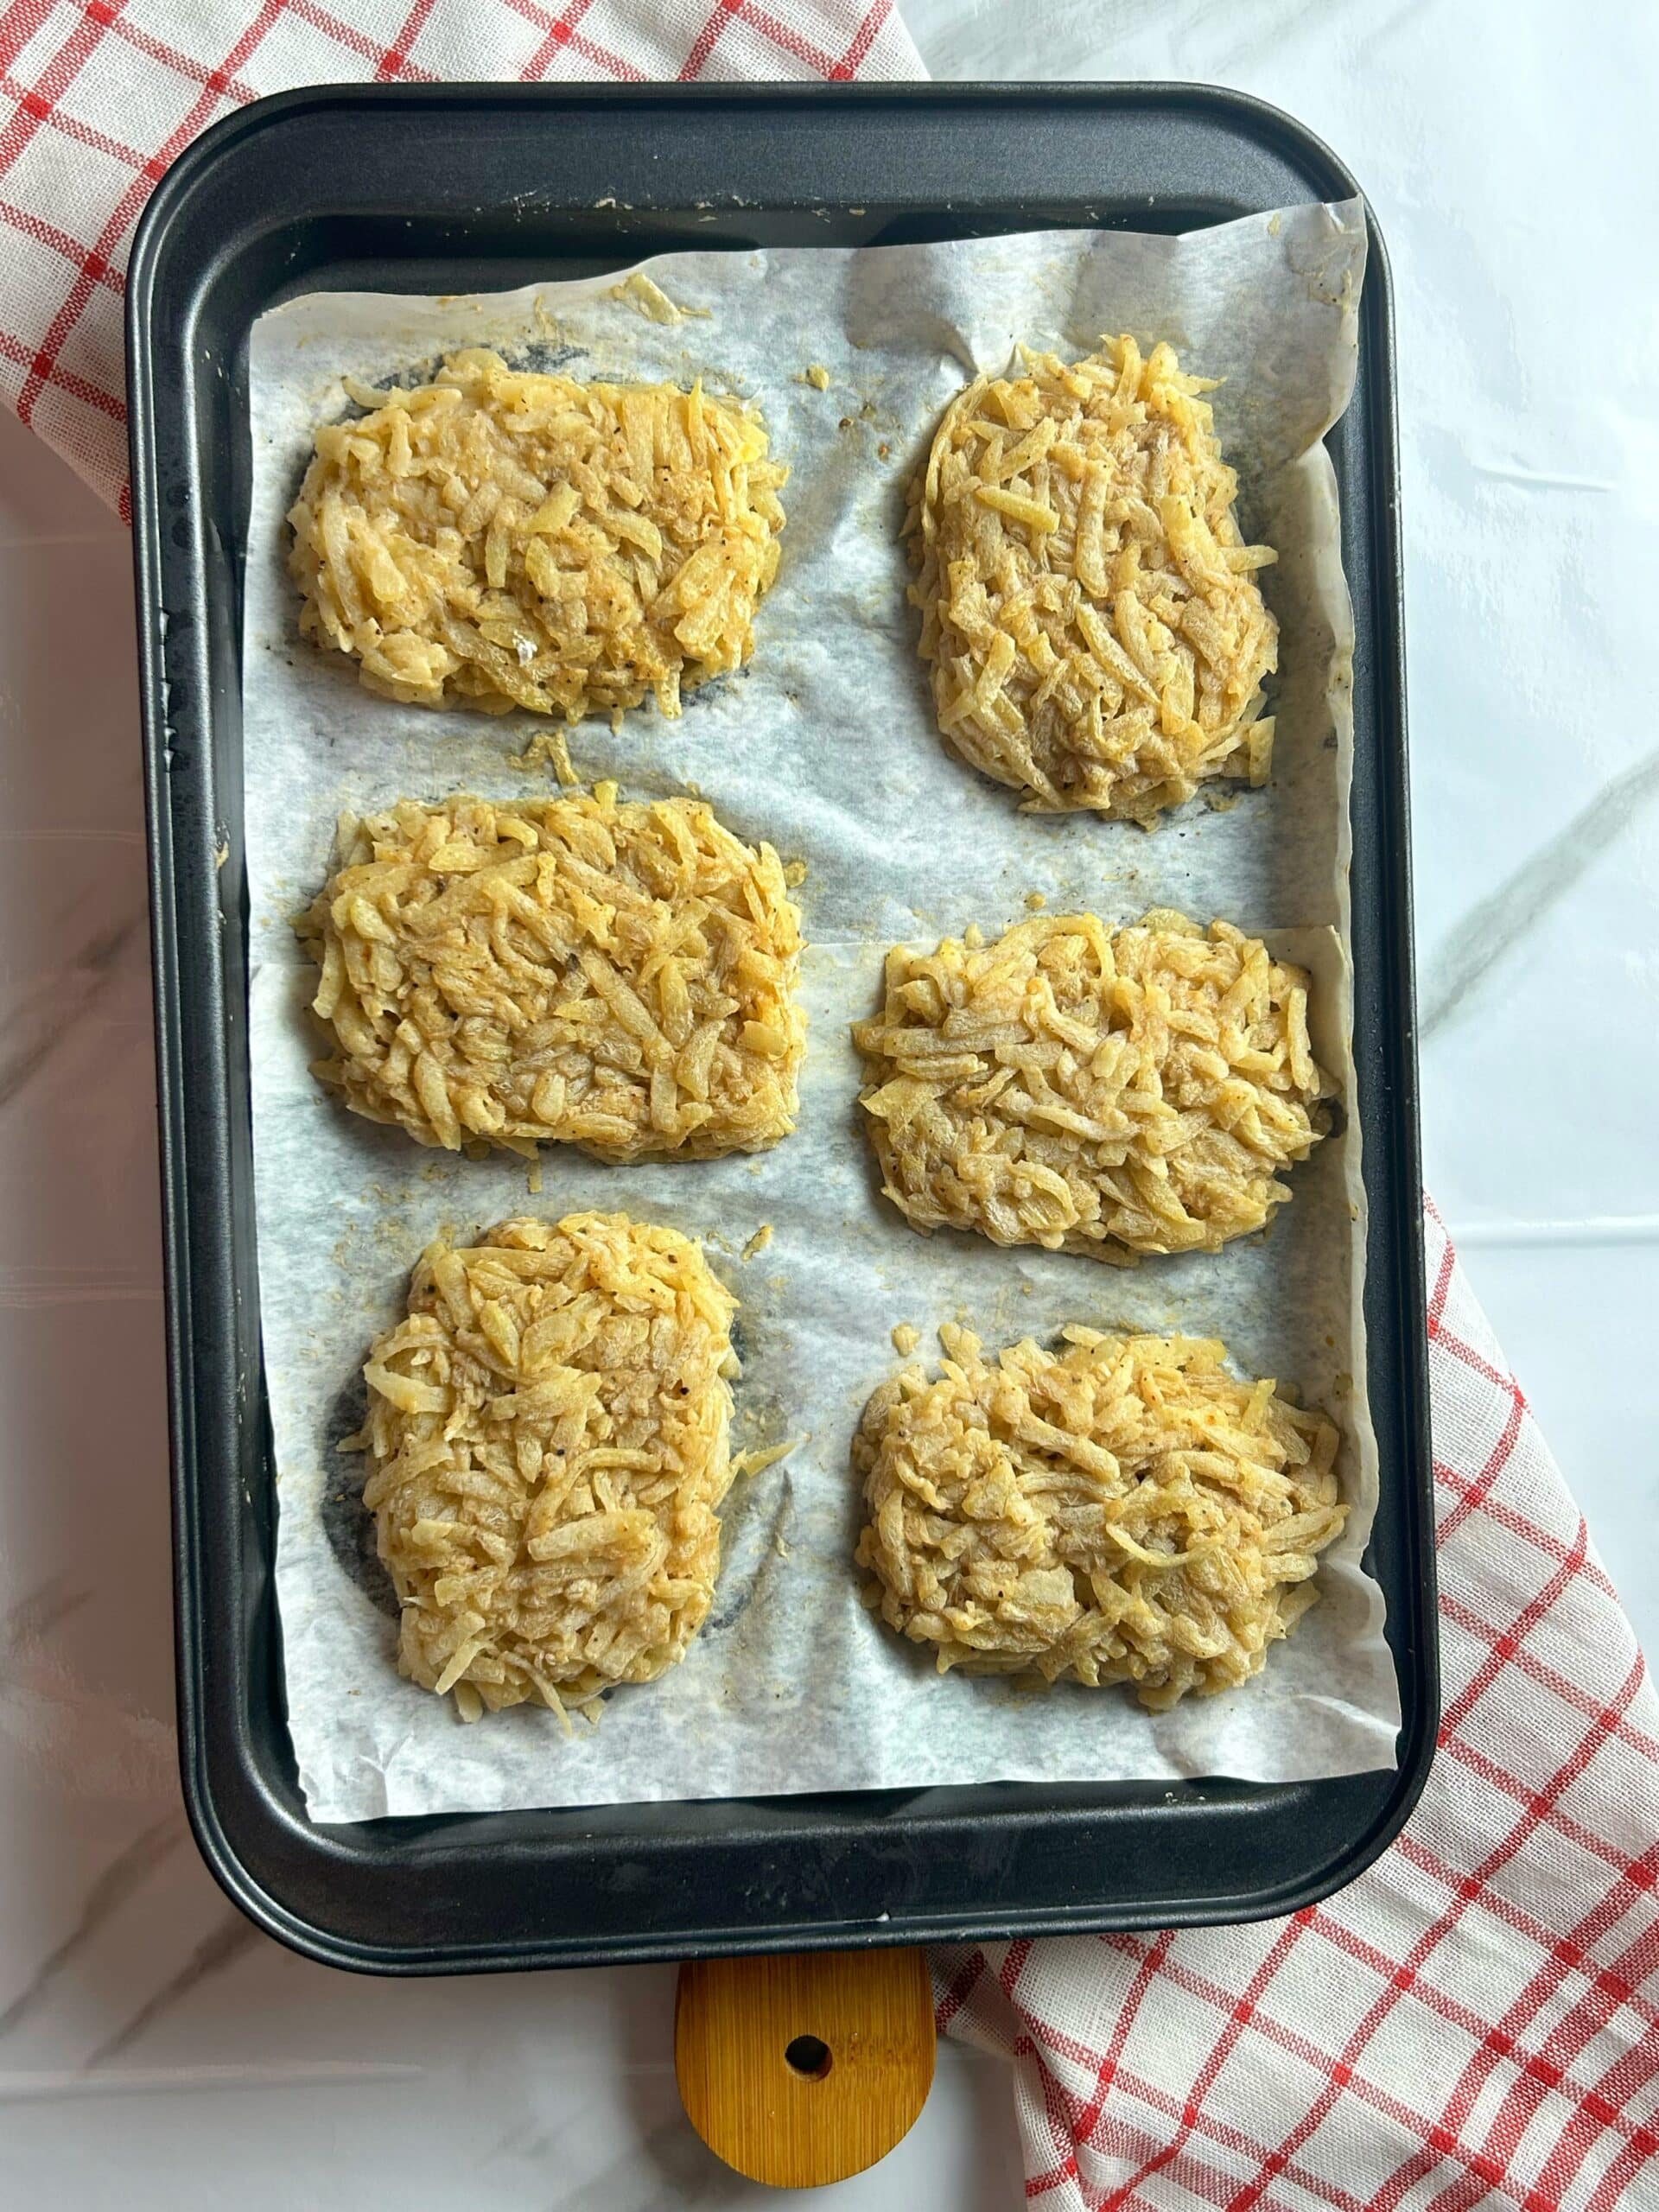
- Step 3: shape into hash brown
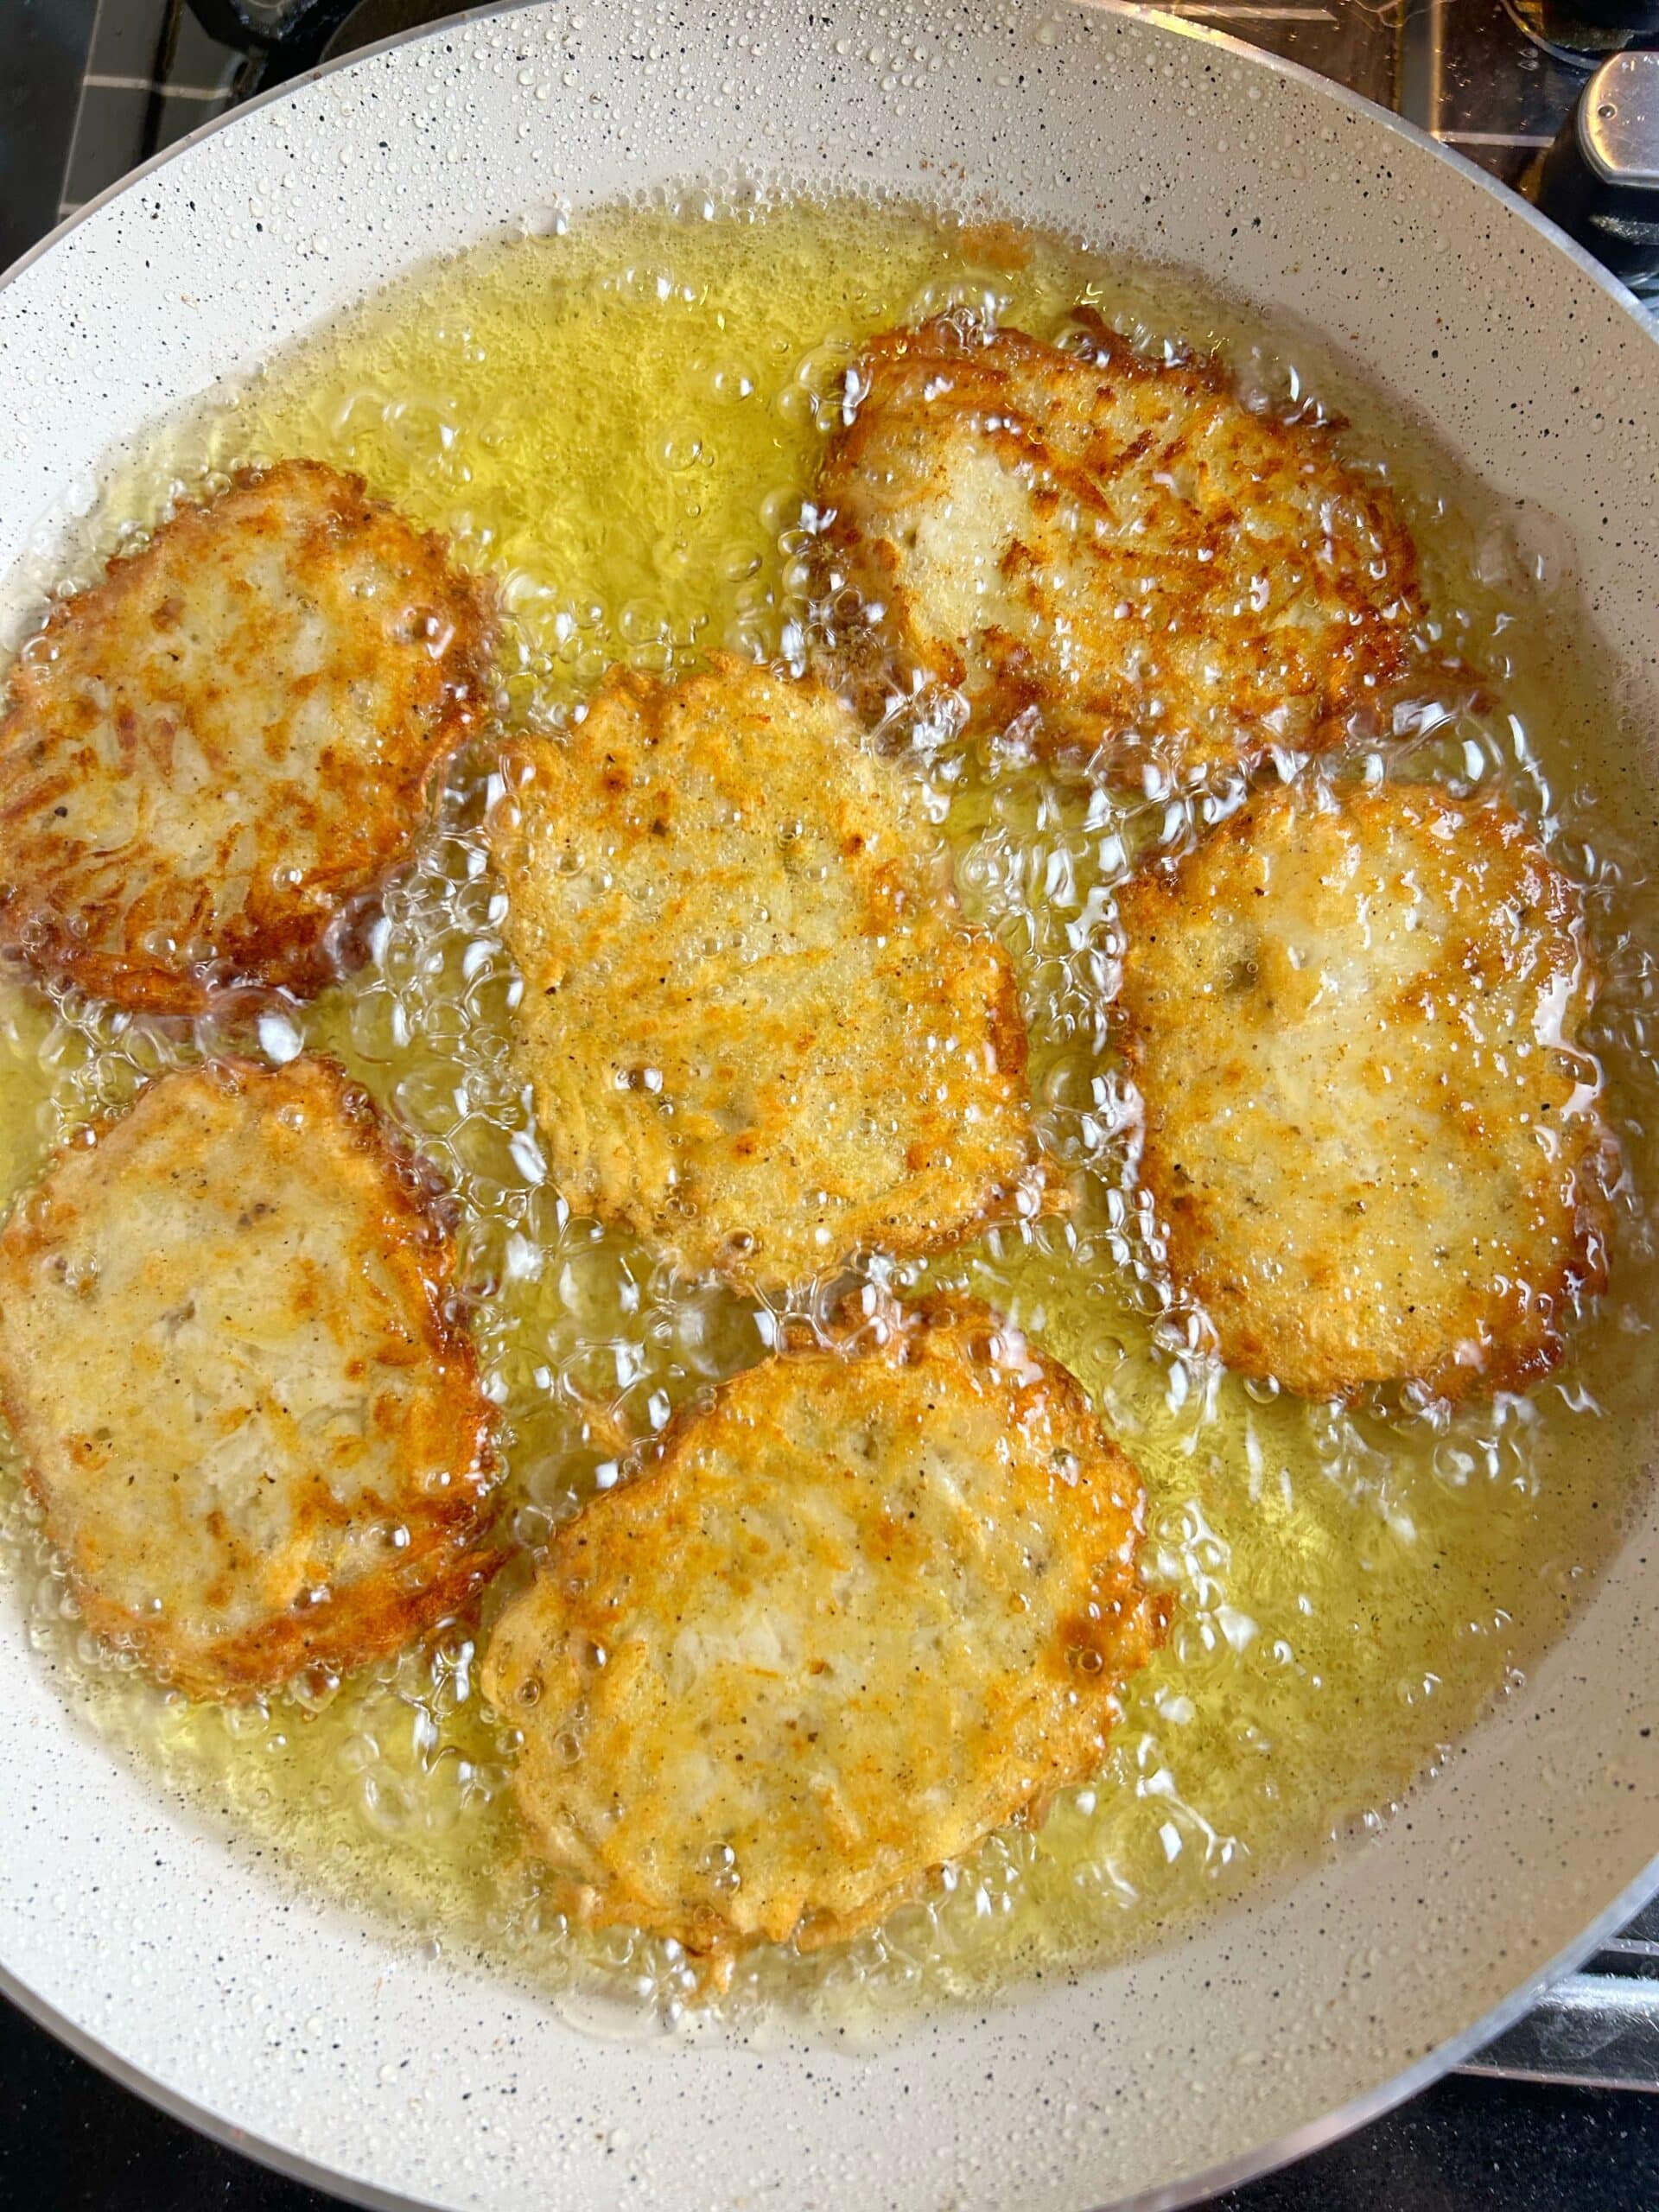
- Step 4: Fry it until golden brown
Watch video of the recipe here: Crispy Hash browns
Hint: For the crispiest hash browns, be sure to squeeze out as much moisture as possible from the grated potatoes. Less moisture means a crispier texture and prevents them from turning soggy during cooking.
Reasons to Adore this Recipe:
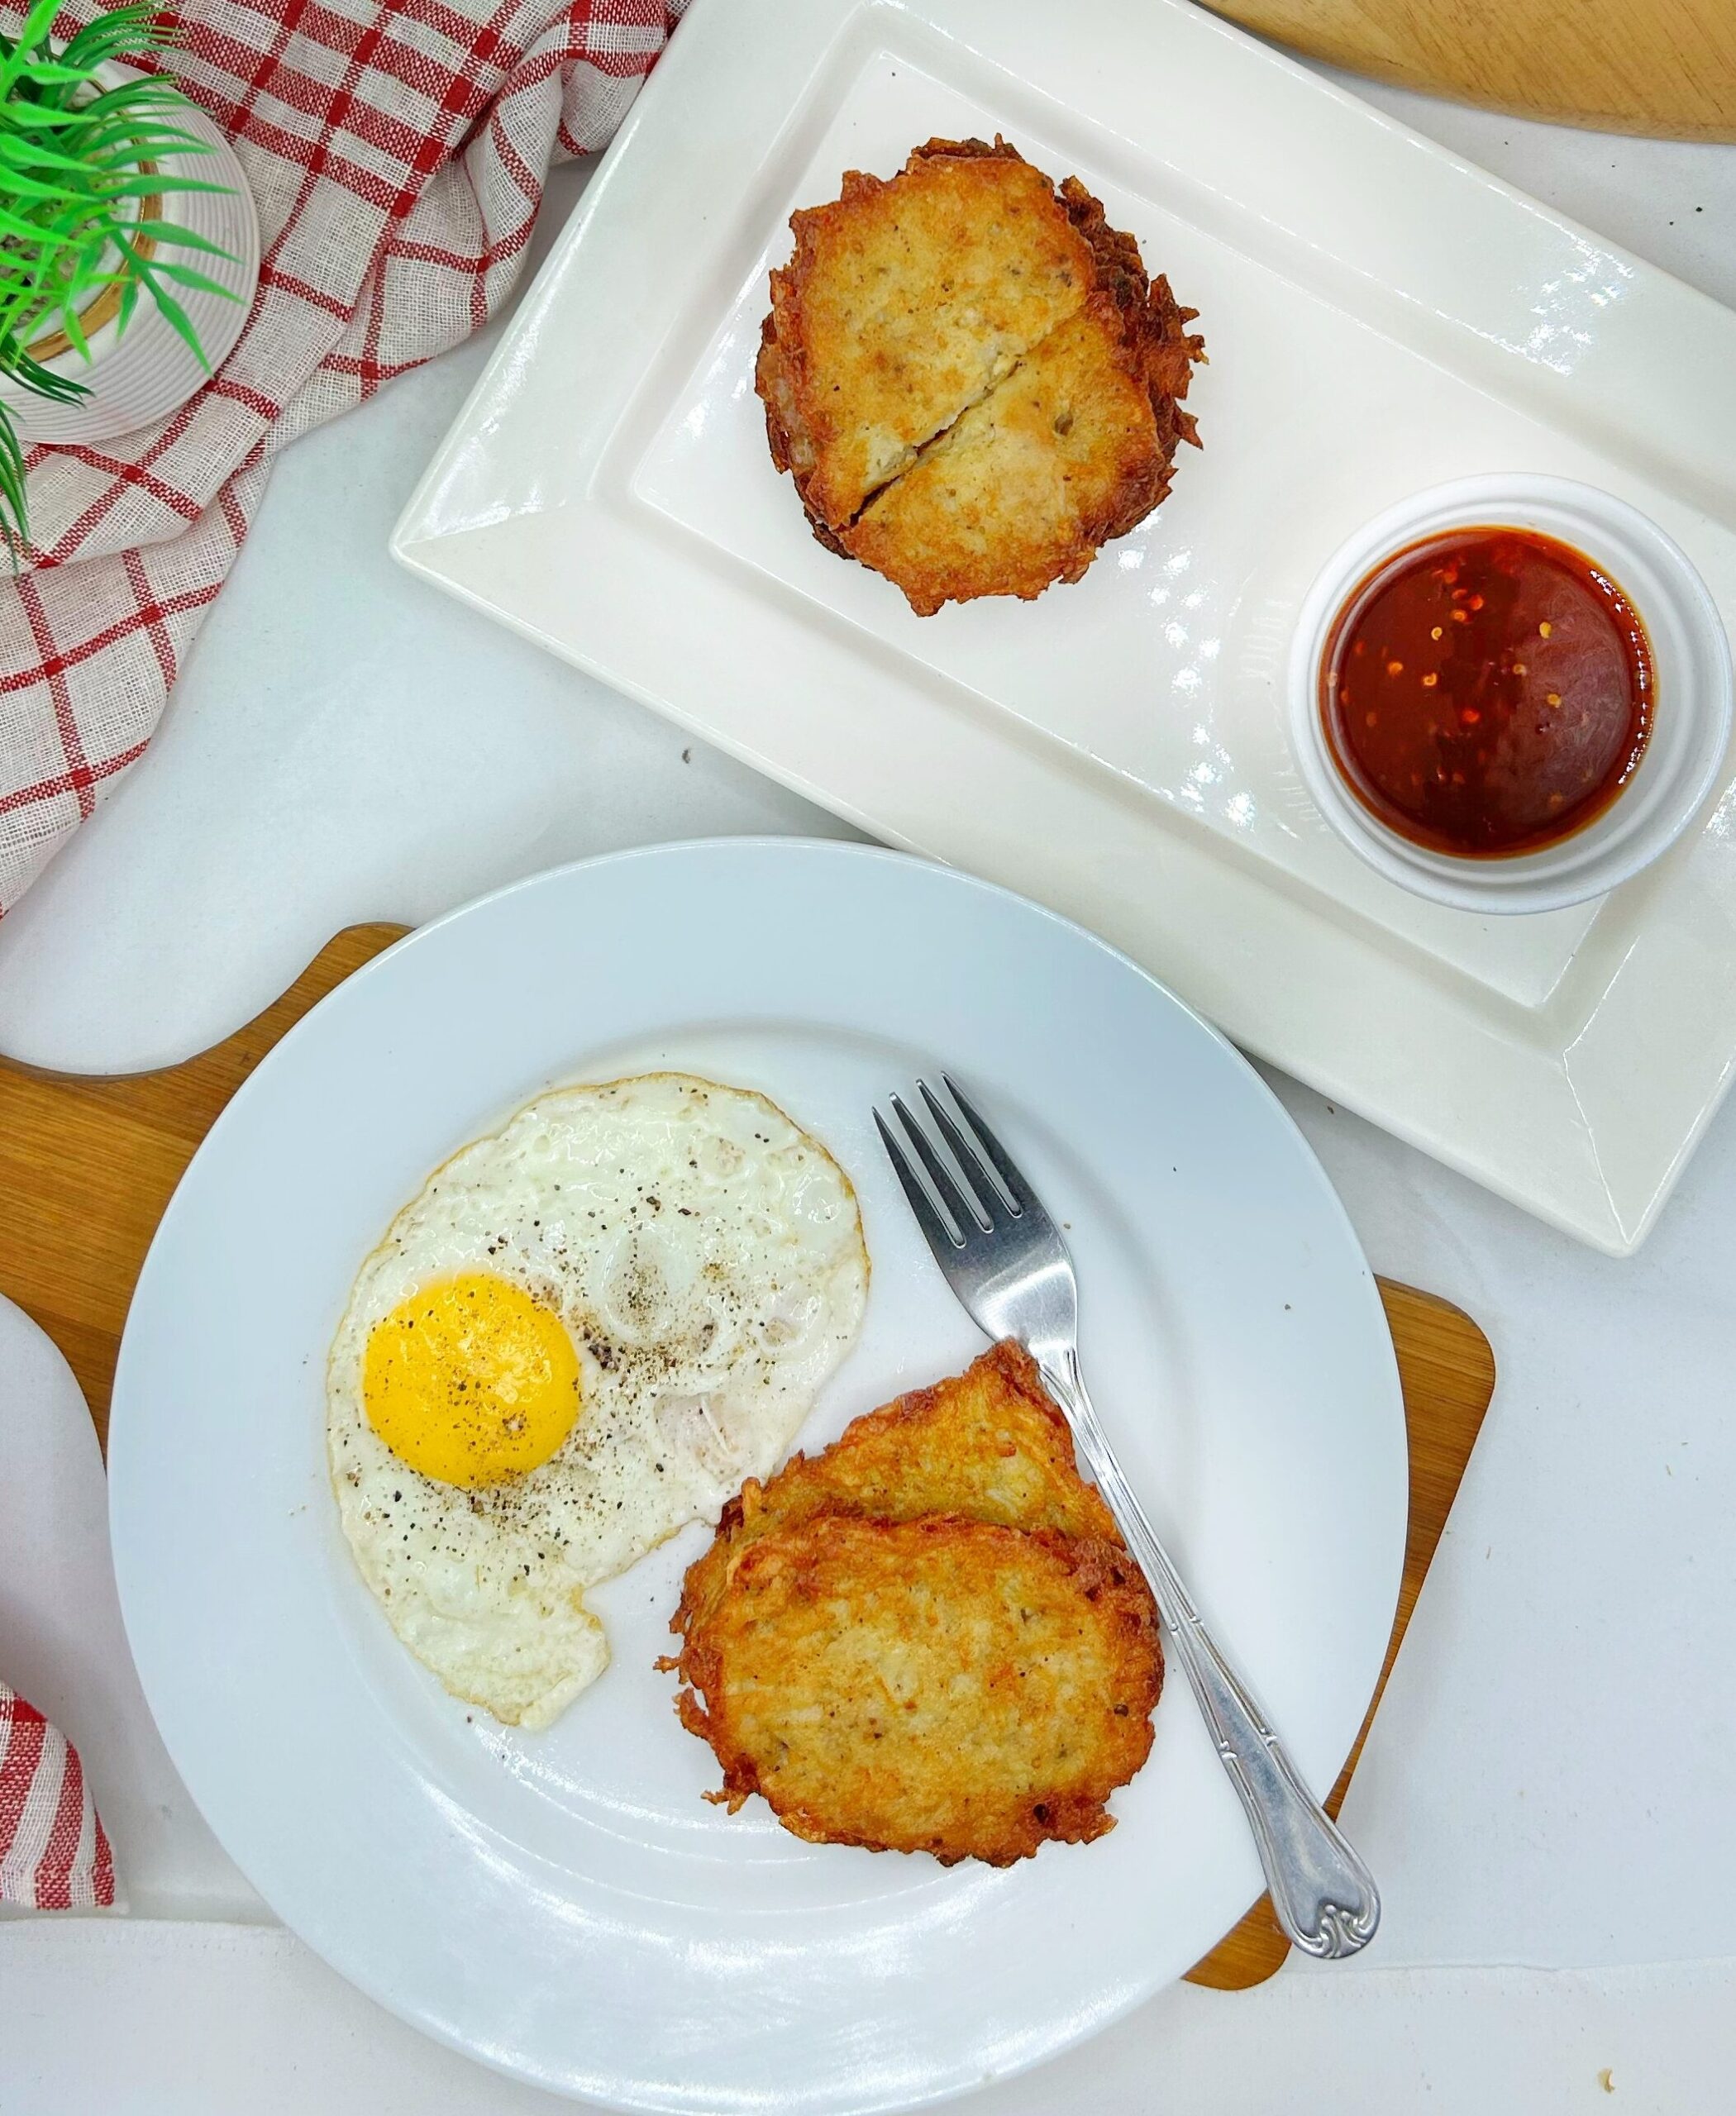
Perfect Crunch: These hash browns cook up perfectly crispy on the outside, with a warm and fluffy inside.
Quick and Simple: With just a few ingredients, this recipe comes together quickly – great for busy mornings.
Versatile and Customizable: You can tweak the recipe with different seasonings, veggies, or cheese, making it easy to suit your taste.
Crowd-Pleaser: Hash browns are a universally loved breakfast item that’s sure to be a hit with everyone!
Substitutions
Potatoes – If you prefer a sweeter flavor, substitute russet potatoes with sweet potatoes. Just be aware they won’t be as crispy.
Gluten-Free – Use cornstarch or a gluten-free flour blend instead of regular flour to make this recipe gluten-free.
Oil Alternatives – If avoiding oil, you can bake the hash browns or use an air fryer for a lighter option. Buy an air fryer from here: Ninja Air Fryer
Variations
Cheesy Hash browns – Mix in ¼ cup of shredded cheddar or Parmesan to add a savory, cheesy flavor.
Herb-Infused Hash browns – Add finely chopped fresh herbs like chives, parsley, or rosemary to the mixture for an aromatic twist.
Garlic Hash browns – Stir in a pinch of garlic powder for an extra burst of flavor.
Equipment
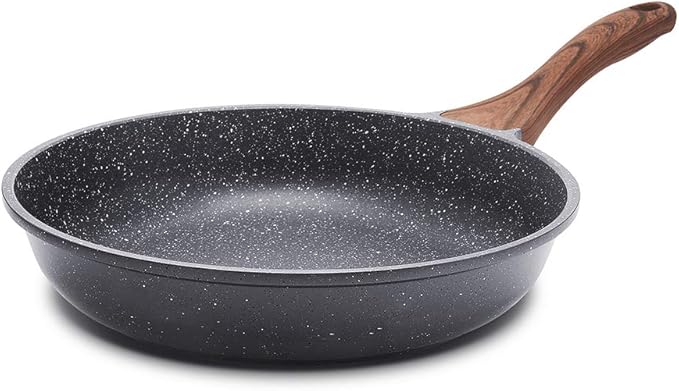
A non-stick frying pan is ideal for cooking hash browns because it allows them to get beautifully golden and crispy without sticking to the pan. The non-stick surface means you’ll need less oil, making the hash browns slightly healthier while still achieving that perfect crunch. Plus, cleanup is a breeze since nothing clings to the pan!
If you're in need of a good quality non-stick frying pan, here's a highly rated option that works great for hash browns, eggs, and more. Sensarte Nonstick Frying Pan
Storage
If you have leftover hash browns, let them cool completely before storing. Place them in an airtight container and refrigerate for up to 3 days. For longer storage, freeze them by placing the cooked hash browns on a baking sheet in a single layer until frozen, then transfer to a freezer-safe bag. They’ll keep well in the freezer for up to 1 month.
To reheat, use a skillet over medium heat for the best texture. Alternatively, reheat in an oven at 375°F (190°C) until warmed through, or use an air fryer to bring back their crispiness.
Top tip
Don’t Overcrowd the Pan – Cook in batches if necessary, as crowding the pan can cause the hash browns to steam instead of fry.
Low to Medium Heat – Cook on medium heat for a golden brown crust without burning.
Crispy Hash Browns
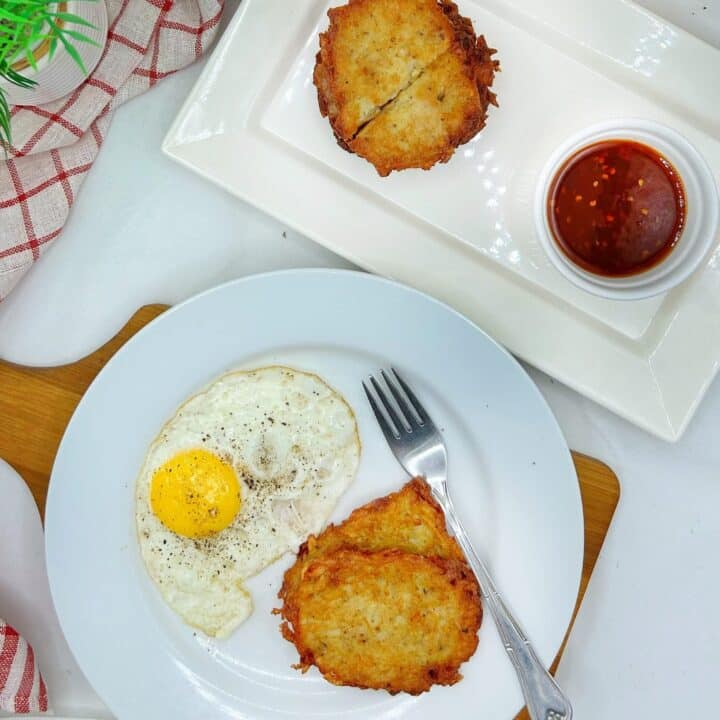
These homemade hash browns are a breakfast staple, perfectly crispy on the outside and tender on the inside. Made with grated russet potatoes, a touch of onion, and simple seasonings, this recipe is easy to prepare and delivers restaurant-quality hashbrowns right at home. They're versatile, too – serve them as a side with eggs, bacon, or even enjoy them on their own. Using a non-stick frying pan, you'll get that golden crunch every time with minimal oil. With a few variations and tips for extra flavor, these hashbrowns are sure to become a breakfast favorite. Enjoy them fresh and hot for the best texture, or save extras to reheat later!
Ingredients
- 3 large russet potatoes (or 5 medium size)
- 2 tablespoon all purpose flour
- ½ teaspoon garlic powder
- 1 small chopped onion
- 1 Egg
- salt & pepper
- cooking oil
Instructions
Step 1:
Peel potatoes, cut and boil them for 5 minutes.
Then Strain and dry them into the paper towel until all the moisture is absorbed.
STEP 2:
Grate them using the box grater. Now
Add in onion , flour, season with garlic powder, salt, pepper and egg. Mix until well combined.
STEP 3:
Scoop about big golf ball size. shape into round and then shape into hash brown. (wet your hand using oil so it won’t stick).
Fry it until golden brown or freeze if you like.
Nutrition Information:
Yield: 6 Serving Size: 1Amount Per Serving: Calories: 192Total Fat: 3gSaturated Fat: 0gTrans Fat: 0gUnsaturated Fat: 3gCholesterol: 31mgSodium: 83mgCarbohydrates: 35gFiber: 4gSugar: 2gProtein: 5g
FAQ
Absolutely! Just make sure they are fully thawed and drained to avoid excess moisture.
Yes, you can bake them at 425°F (220°C) for 20-25 minutes, flipping halfway through, for a lighter version.
Store in an airtight container in the fridge for up to 3 days. Reheat in a skillet to bring back the crispiness.
Related
Looking for other recipes like this? Try these:
Pairing
These are my favorite dishes to serve with [this recipe]:


Leave a Reply